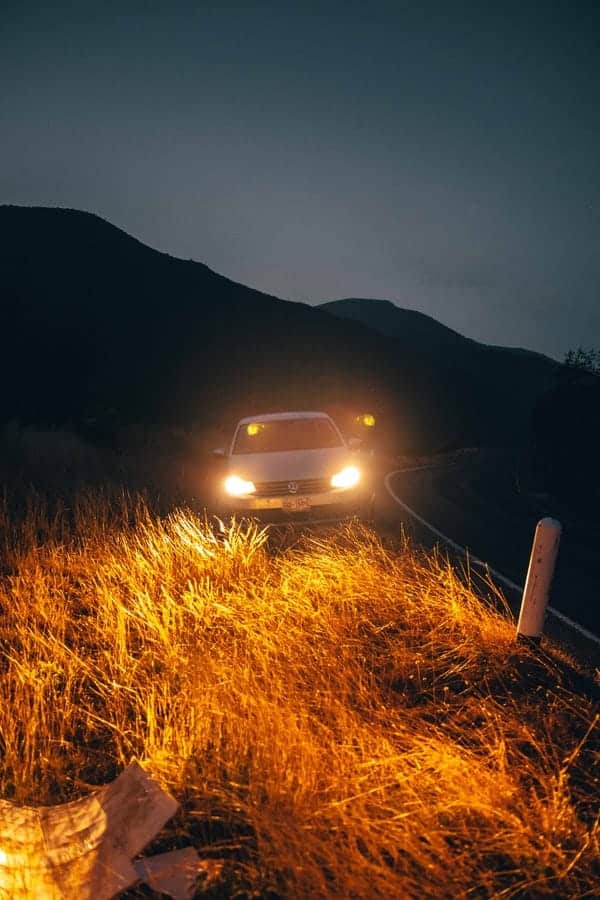
One of the most important safety precautions when driving at night or in conditions with limited visibility is clear headlights.
It isn’t just a case of keeping an eye on your headlights to ensure that they are in full working condition, but also so they aren’t cloudy or foggy which can also cause the effectiveness to become hampered.
- What causes foggy headlights?
- Which products are best to use on your foggy headlights?
- Cleaning foggy headlights
- Steps to take to clean your foggy headlights
- Using sandpaper on your headlights
- Wipe with alcohol
- Bug Spray to clean your headlights
- Choosing the right DIY headlight restoration kit
- Hazards of foggy headlights
- Cleaning headlights on the inside
- Ensure that you apply a UV sealant
- Preventing headlights from oxidising
- Identifying failure in your headlights
- Conclusion
There may be affiliate links in this article. You can read more about this in my disclosure.
What causes foggy headlights?
There are many reasons why your headlights can become foggy and cloudy, and you’ll notice it more when you’re driving at night and you see that your vision ahead isn’t as clear.
They won’t be as bright and they will have a yellow discolouration to them.
Headlight lenses are usually made from thick plastic which is composed of polycarbonates. In older cars, you have glass lenses but the plastic ones are scratch-resistant and more durable.
Over time, the polycarbonate plastic that is more exposed to UV rays can cause the outer layers to break down and degrade.
This will then cause the lenses to absorb more blue light from the bulbs and cause the yellowish light to show. However, it might be good for you to know that cleaning foggy headlights is pretty easy.

Which products are best to use on your foggy headlights?
There are automotive stores that would offer a handful of products that are specifically designed for using on your foggy headlights.
You could either ask a member of staff or look for products that have “headlight restoration kit” or “headlight lens restoration” labelled on them. These products will come with instructions and are easy to use.
There are also other ways in which you can clean your foggy headlights, and we are here to help you with that.
Cleaning foggy headlights
Thankfully, you don’t need a lot of supplies in order to clean your headlights. There are a few items that you will need that are listed below:
- Mild cleanser
- Cleansing kit, toothpaste or baking soda
- A soft-bristled brush or toothbrush
- Water for rinsing
- Gloves
- Old rags or towels
- Painter’s tape
Steps to take to clean your foggy headlights
In order to protect the rest of your car and the paint, it’s best to add painters tape around the headlight. You can choose if you want to tape off your signals as well or leave them for cleaning as well.
Clean the surface of your lights in order to remove any debris. You don’t want to start cleaning when you’ve got dust and dirt surrounding your lights.
Get a spray bottle and use the mild cleanser to spray over your headlines and wipe over gently.
Once you’ve cleansed, use a dry towel to wipe the surface until it is completely dry.
Add a fair amount of cleanser, toothpaste or baking soda and ensure that it is thickly applied to the headlight lens. You will want to mix the baking soda with a small amount of water to make it a thick paste.
Leave it to sit for a few minutes, until it is dry.
In circular motions, gently work your way around the headlight with your chosen soft bristle brush. The cleanser that you’re using is abrasive so you don’t want to use too much force when you’re applying it onto your headlight.
The yellowness and fogginess will disappear from the lens as you work your way around it.
Using your towel, remove any residue that is left on the lens and spritz any dried bits with clean water. Use your towel and polish your headlights until they are completely dry.
If you don’t have baking soda or cleanser around the house, and you don’t really want to try toothpaste, but you have WD-40, then this can be used to get rid of dirt and grime and also make your headlights less foggy and more sparkly.
You use the same process as you would with other products.
[amazon box= “B004YIX934,B0762LYFKP,B011J59VA4″ grid=”3”]Using sandpaper on your headlights
It might seem unusual to use sandpaper on your headlights, but due to the abrasive material, it can get rid of more grime and dirt than other products.
Simply use the same method as above, but add water to your sandpaper (800 grit to begin) and work it in a circular motion around the headlight.
Wipe with alcohol
Use a finer sandpaper, such as 1,600 grit or more, and do the same process but in the other direction. When you’re done, wipe down your headlight with rubbing alcohol.
You should notice that you have a completely clear headlight. As a finishing touch, use toothpaste or polish the plastic.
[amazon box=”B074TV7LKH” template=”vertical”]Bug Spray to clean your headlights
Even though bug spray is used within the home to get rid of those pesky mosquitoes and flies, believe it or not, it can also be used to add a shine to your headlights.
Be mindful not to use too much as it can damage the plastic.
Choosing the right DIY headlight restoration kit

As there are quite a few restoration kits on the market, it can be difficult to find one that is good for use on your headlights. It’s best to follow the below points when purchasing:
Ensure that the instructions are easy for you to follow.
Don’t rush. It could take up to 15-20 minutes per headlight. It’s time spent rubbing away years of oxidation and original protective coating.
Run your hands over the headlight as you’re sanding. This will enable you to feel any rough spots that you can continue sanding until smooth.
Be mindful not to scratch your headlights when you’re sanding. As previously mentioned, tape can help to protect the rest of your car, but it’s important that you’re choosing the right tape as otherwise it can lift the paint off (especially if you have an older car).
Keep your headlights wet by using a spray bottle, a bucket of water or a hose.
You might find that your headlights continue to look foggy even after you’ve sanded, but trust the process. Once you begin applying the coating, you will notice the difference.
Before you apply the protective sealant, it’s important to ensure the headlight is completely dry.
Once you’ve applied the sealant, it may require drying for several hours, if not, overnight before you use the car again.
If you’ve purchased your own restoration kit, then it’s best to check the instructions as to whether you need to reapply.
Hazards of foggy headlights
When you’re driving, especially in bad weather conditions or during the night, your lights give you better vision. If they are foggy, they don’t look as great and they can actually cause a hazard.
There will not be adequate lighting on the roads from your lights in order to assist you driving at night.
The light distribution will be disturbed and the lights will be going out in all different angles which is hazardous for other drivers.
Foggy headlights will absorb energy from the light which will make them get very hot. This will ruin the headlamp itself.
If you plan to sell your car then the value will decrease if you have foggy headlights.
Cleaning headlights on the inside

If you’ve cleaned the outside of your headlights and you’ve come to realise that the inside is foggy, then it might be a bit trickier to sort. You have to remove the headlight off the car.
You can do this by checking out a Youtube video or speaking to someone on an auto forum, or at an automotive car.
Once you’ve got the light off the car, you need to heat the joint between the body and the lens of the headlight to soften the adhesive, with the heat gun. This will loosen it up and allow you to remove the lens.
Use a low lint cloth to clean the inside of the headlight and ensure that you remove every bit of grime, dust and dirt. Apply a silicone or other sealant to close the headlight and this will prevent any particles getting in there in the future.
Ensure that you apply a UV sealant
When you’re cleaning the inside or outside of your headlights, then it’s best and recommended to use a UV sealant. This will prevent your headlights from oxidising in the future.
In order to get the right protection, apply at least three coats.
Preventing headlights from oxidising
In order to prevent your headlights from oxidising, there are certain steps you can take. Be mindful to park smartly.
Headlights are likely to yellow because of UV radiation. If you are mindful enough to park your car in the shade whenever you can, this will prevent yellowing from happening.
Wash your car frequently with the right cleaners in order to prevent your headlights from becoming cloudy from dirt and chemical layer.
Periodically sand your car headlights. Even if your headlights aren’t completely foggy or yellow just yet doesn’t mean that you don’t have to spend time ensuring that it’s prevented by sanding them regularly.
You can do this once every few months in order to keep them looking their best.

Identifying failure in your headlights
You need headlights to drive. They are very important when it comes to spending time driving at night or with poor visibility.
So, how do you know when they are beginning to fail?
You may notice that your headlights are flashing. Even though this might first appear to be nothing, it could become a clear indication that your headlights are beginning to fail and will soon be ready for repair and refitting.
Your lights are shining as brightly as they once were. If you’re driving out at night and you realise that you’re using your full beams way more than you should, then it’s probably best for you to get your headlights fixed.
You don’t want to get to a point when you’re only able to use your full beams, as this can dazzle other drivers and cause a hazard.
Conclusion
It’s best to get foggy headlights fixed as soon as you possibly can. This is to ensure that your driving experience is as best as it can be and without any additional hazards put in place.
If your headlights are foggy, and they aren’t working well, then this is your responsibility to get fixed.
Farah Zeb is a mother of five, including two children with special needs. She shares practical parenting tips and resources to help other families navigate daily challenges and create supportive, nurturing environments.